Dahlia Ponderings
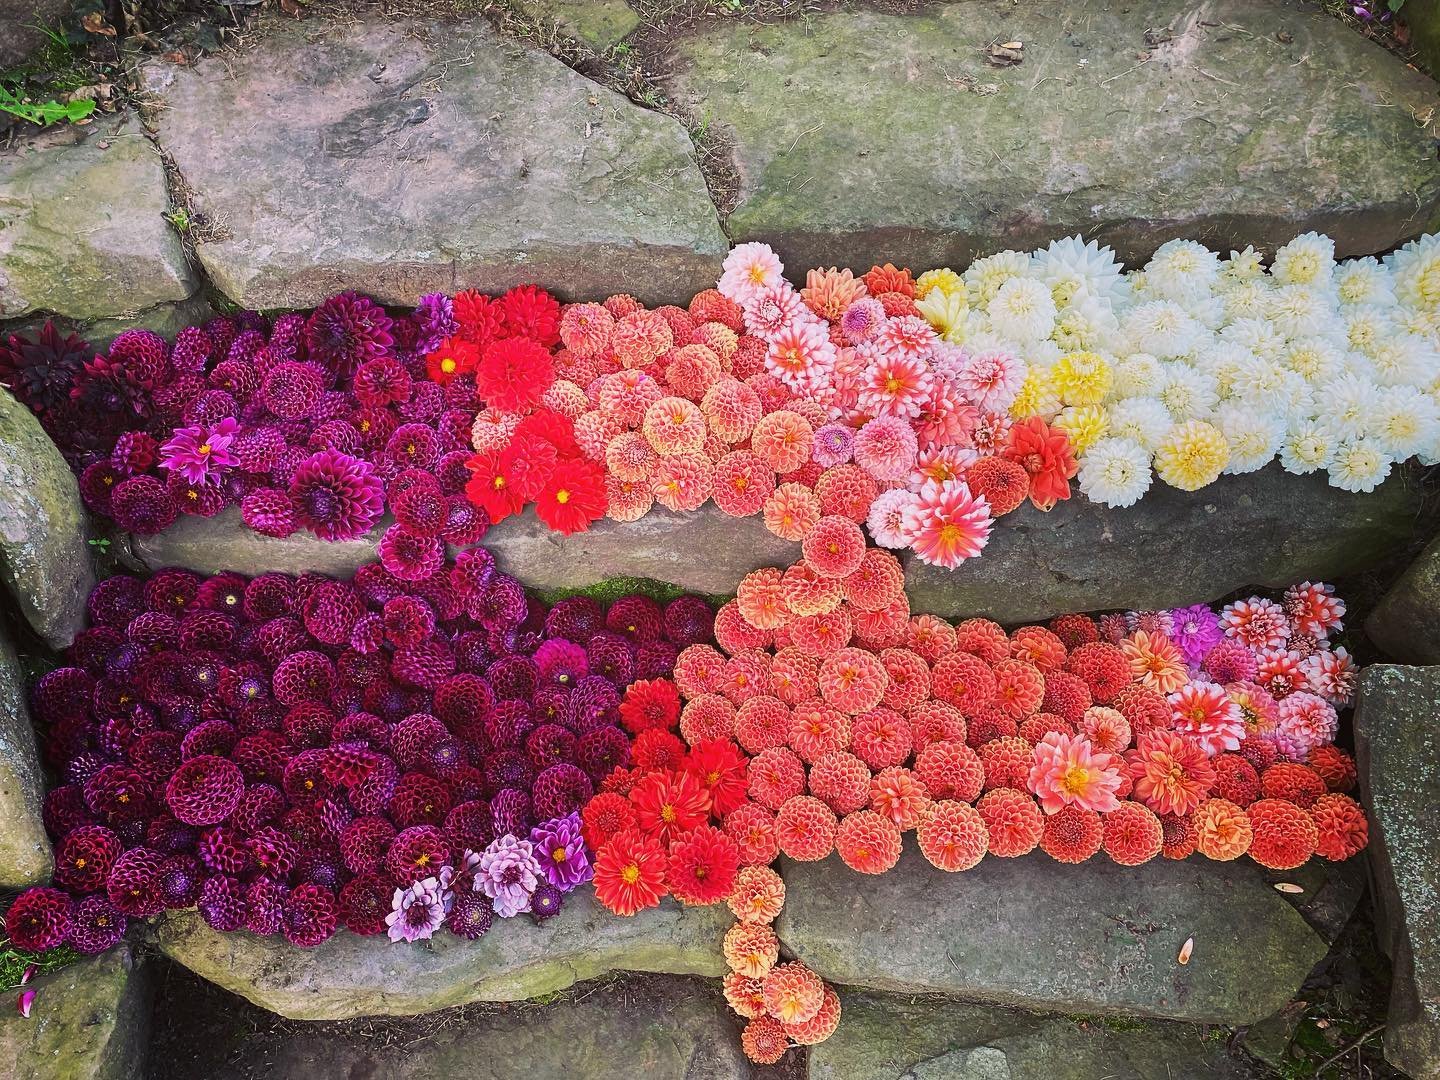
Dahlias, dahlias, dahlias! I love them and… it’s true, sometimes I do hate them.
Each year I go back and forth about whether dahlias are “worth it.” They are THEE most labor intensive and time consuming crop I grow, hands down. But their breathtaking beauty and the high demand for them keeps me coming back every year.


Because they are so labor intensive, I am constantly trying to find ways to make them more profitable. That ultimately means I need to make the work easier and more efficient. If I added up all the hours of planting, fertilizing, field work, setting up support, harvesting, digging, labeling, dividing, and storing and priced the stems accordingly…. they’d be so exorbitantly expensive it would be unrealistic!
Therefore, if I don’t want to give up dahlia growing I must make it easier to store over the winter, easier and faster to plant, easier to label, and definitely easier to dig them out of the ground come frost. At this time, I don’t see any easier ways to divide other than hire help!
Winter Storage:
There are dozens of ways to store dahlia tubers. Like so many things, there is not one perfect way. It really depends on your climate, storage options, number of tubers to store, etc. Dahlia storage needs to be a goldilocks endeavor. High humidity but not too humid or they’ll rot and not too dry or they’ll shrivel up…either way they can die. They also need low temperatures under 50 degrees F but not freezing or they’ll also die. Over 50* is too warm and they won’t go dormant and will sprout too early. They need it just humid enough and just cool enough to make it through the winter months.
I started storing tubers in large plastic tubs covered in damp coarse vermiculite and have always had great success. It is, however, tedious so I trialed storing them in the cooler (temperature and humidity controlled) in crates with no medium at all. I saw someone else do this (I forget who) with success and partially because I got caught up in other to-do’s, I thought I would try it too. Now, a smarter person than I would have done an actual trial. Maybe half the tried and true way and half the new way. Nope. I just went all in, 100% of my crop.
The cooler stayed the correct humidity and temperature, however, I had quite a bit of mold growing on my dahlias. A little mold is no big deal but a lot can be. I would say for those that grew mold, it was only mild to moderate. The tubers themselves were pretty firm and looked good so I let them be.
Tulip season came on hot and heavy as usual and I needed my cooler space for storing tulips so the dahlias had to move out. Problem is, they were “naked” without any medium in the warm dry barn. What happened is some started to dry and shrivel. I actually ended up losing some entire varieties although overall I didn’t lose that may. Most weren’t a big deal but I lost ALL of my Cafe au Lait which is a major deal! Luckily, for several of those lost varieties, including Cafe, I was able to secure some new tubers or cuttings to start building new stock. Grr! So frustrating.
I haven’t completely figured out my plan for storage next year. Some varieties stored perfectly fine with the new easy way. Perhaps I’ll do a combination of the methods.
Planting:
For the past 5 seasons, Long Lane Farm has grown exponentially, including our dahlia patch. My first year I grew a single row of dahlias and last year I grew almost 1,000 plants. This year, I moved my dahlia field across the farm and more than tripled the size. We are looking at putting in almost 2,500 plants! With those numbers I knew hand digging every hole as we have for the past four seasons would just not be possible. By hand digging I mean trowel in hand and digging an individual hole for each and every tuber. Yikes! It’s scary to think we did that for so long!
I purchased a middle buster which is basically a single plow that attaches to the tractor and creates furrows for planting root vegetables and the like. If you know anything about planting potatoes, dahlias are very similar in terms of planting and harvesting of tubers. I also switched from double rows to single rows this year. With the middle buster I made 11 rows that are about 170 ft long in only 20 minutes! Whew!!
Then planting is as easy as placing each tuber down in the furrows. For the first 3 rows, I went through and covered them by hand with a rake. My hands were covered in blisters and I knew I had to do something else. I forgot that I had a hiller attachment for the tractor which literally does the opposite of the middle buster. While the middle buster makes a furrow/trough in the soil, the hiller uses two discs set at angles to pull the soil into a raised bed. I pulled the discs closer together so that they went along each side of the tubers and covered them with soil. Each row takes about 5 minutes to cover and zero blisters! So much better!
So far, we have 1,600 tubers in the ground and will probably finish out at around 2,200. We are so close!
Labeling:
The time consuming part of planting is organizing each variety and labeling them properly. I have had 4 seasons of subpar labelling and I am DETERMINED to get it right this year. The single rows will definitely help with that. With double rows I found it way too easy to mix up varieties especially if it was a new variety and I only had a few of them. I tried labeling each individual tuber last year but when digging time comes around it’s inevitable that a label falls off. When that happens, if you don’t catch it right away, you’re out of luck because there’s no way to tell for sure what it is, they all look the same!!
I am also using tall wooden stakes labeled with each variety name vs. having the names at ground level that will eventually get covered up by the large plants. My plan when digging is to go variety by variety and label each crate by variety name. NO mixing whatsoever. We’ll see, fingers crossed!
Digging:
I plan to dig all of the tubers this fall. I have experimented with overwintering them in the ground before and had great success. However, what I found is that for me, it’s an all or nothing kind of thing. The tuber clumps get SO large even after a year that it makes them at least twice as hard to divide. So I will either continue dividing or continue leaving them in the ground indefinitely.
As for digging, I’m on a mission to make it easier because, like planting in the past, we have also dug each tuber with a pitchfork BY HAND up until this year. That’s not going to be possible with the numbers we have. I am looking at a few options and think I’ve narrowed it down. Stay tuned for that adventure!

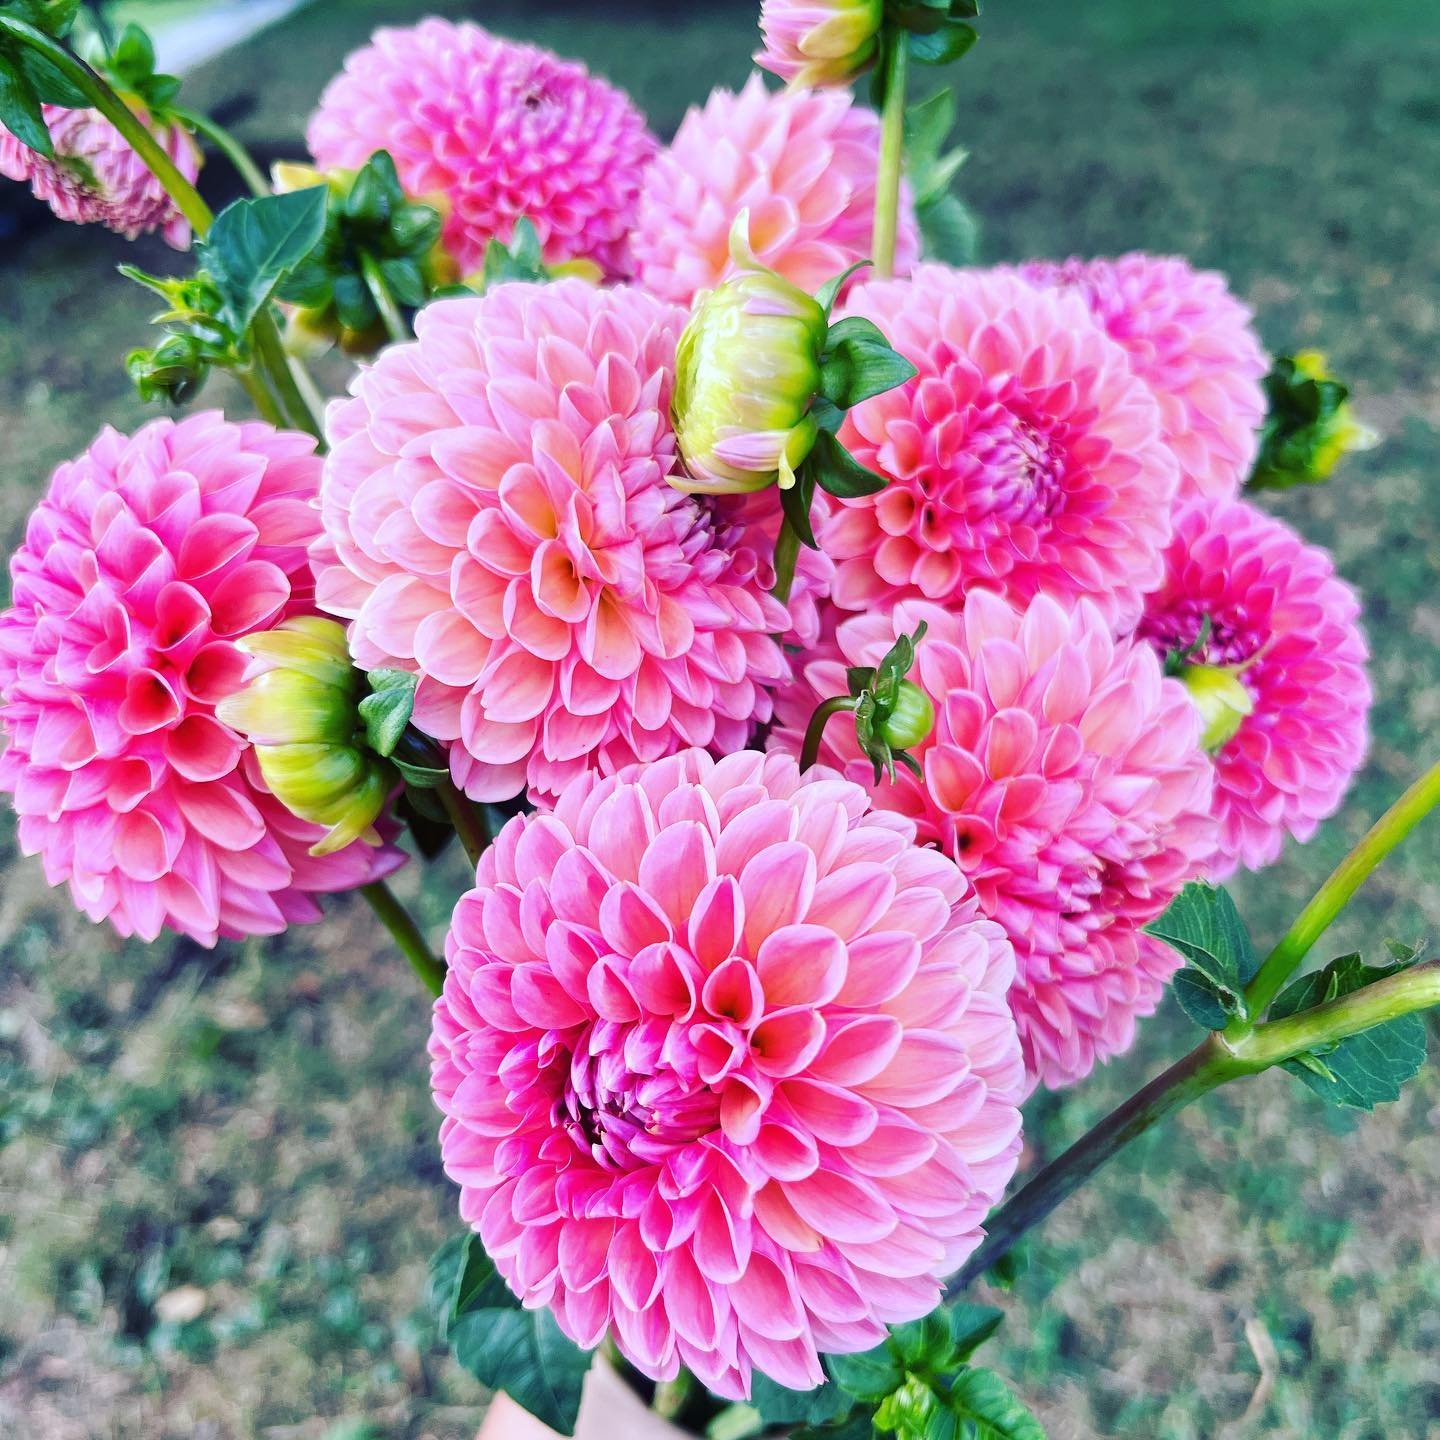
Now, splitting tubers. Ugh, splitting tubers has no short cut. It’s the most labor intensive part of the process and no real way around it. But oh those blooms every year make me forget all the hard parts!
Do you love dahlias? Do you think they’re worth all the effort??